Installation
How to install
- Consider the track you are driving to decide what is best side for the beacons and then decide which side of the car you need to place the lap receiver.
- Lap receiver and beacon will need direct line of sight when car passes the beacon, so do not leave the sensor behind any obstacle.
- Lap receiver is connected to main unit with black 3-pin sensor cable. Always connect lap receiver to port LAP in the main unit.
Tips
- Best performance is achieved if there is a small hole in the body shell in front of the IR receiver eye, but in good conditions the receiver can be behind painter bodyshell.
- If IR receiver is placed on center line of the car, then it's easy to swich side of the receiver depending on track driving direction.
- Package includes an optional riser piece which you can use the raise the IR eye higher. See instructions below.
- Wire can be changed to longer one by opening the bottom cap and changing the wire. See instructions below.
Example installation of the lap receiver

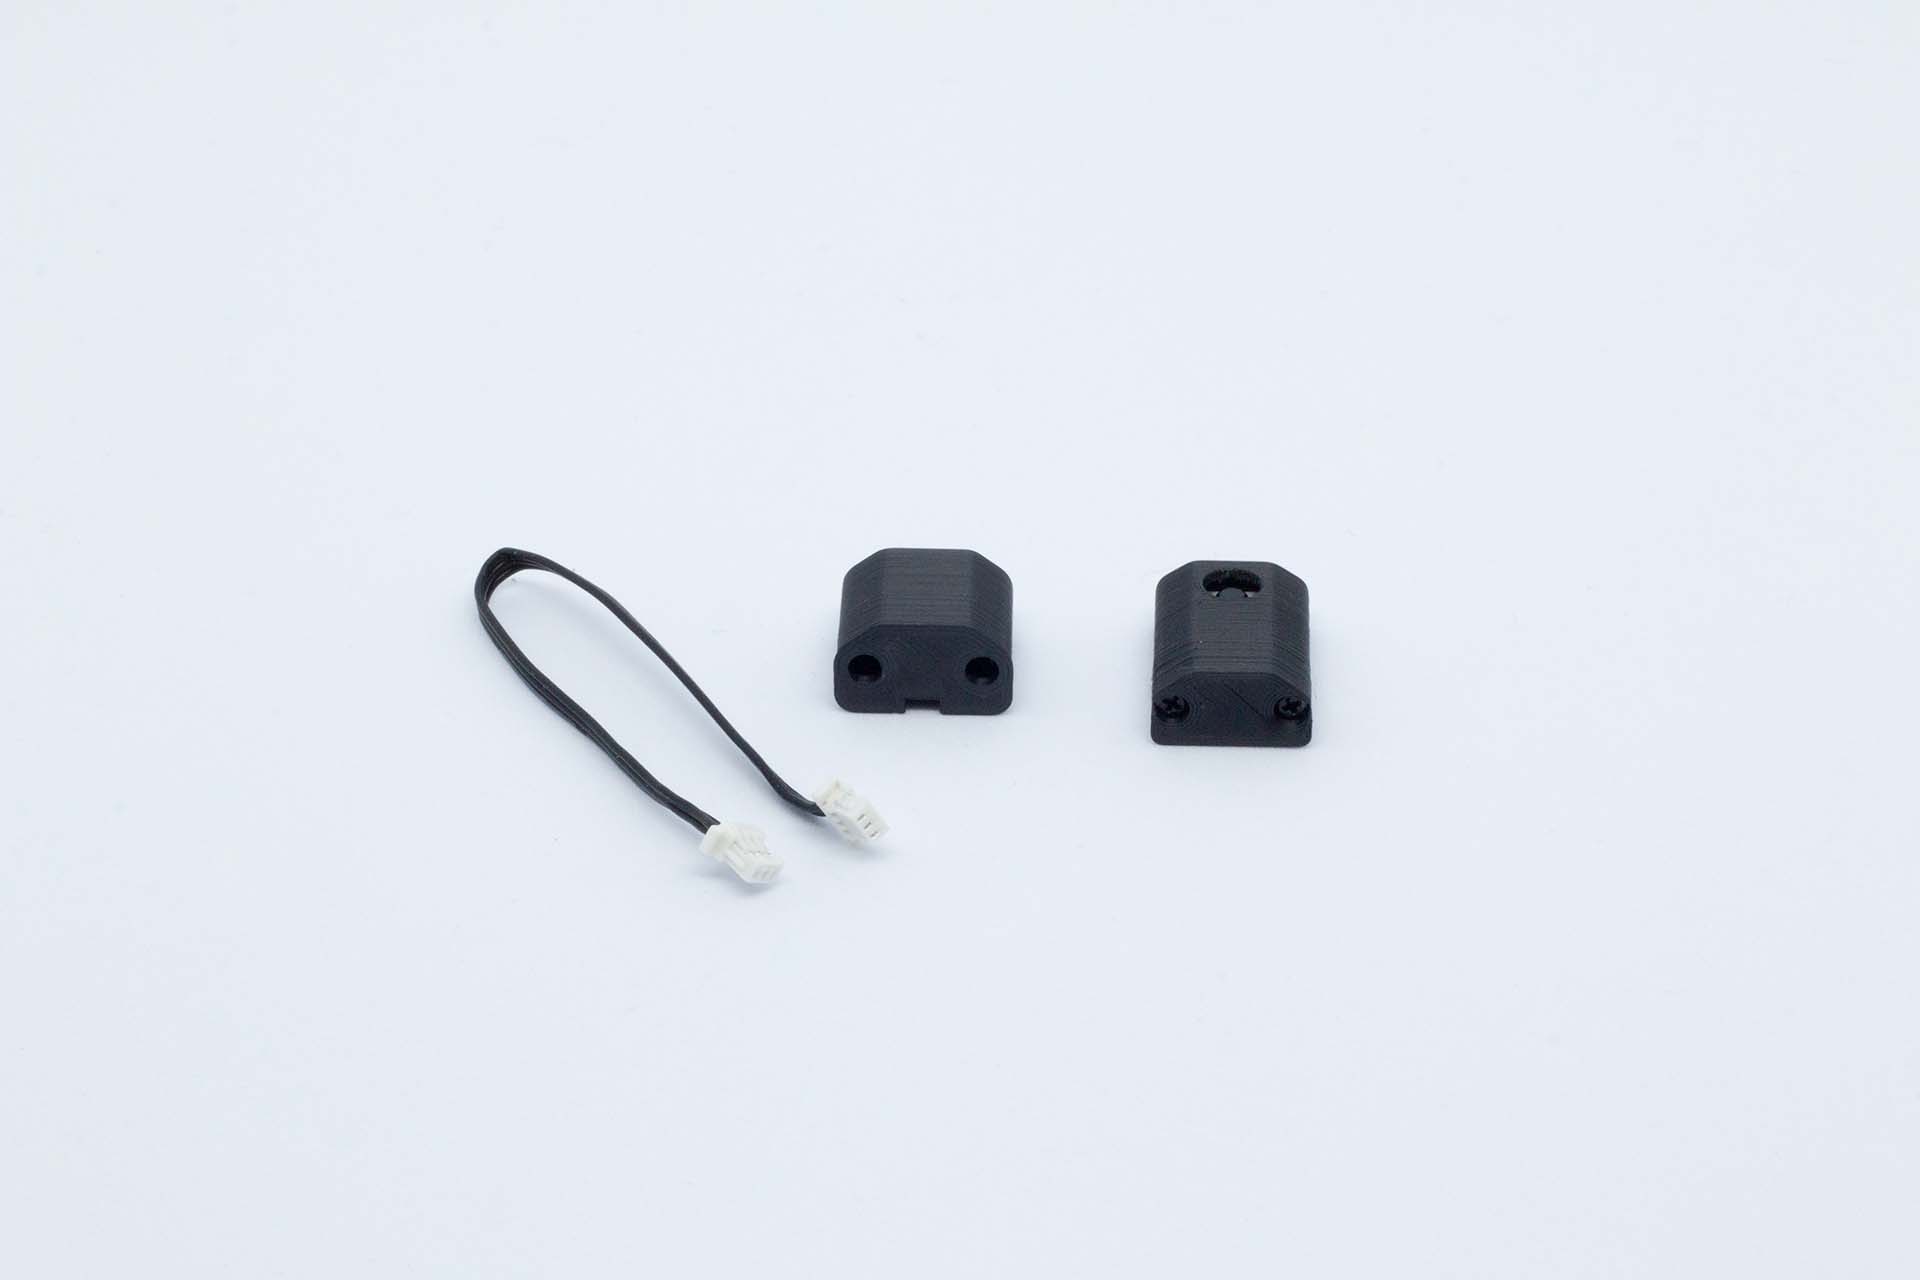
How to change the base or the wire
- Use small philips head screw driver to unscrew two screws from the bottom.
- Remove the bottom base from the case
- Change wire if needed
- Install either the standard bottom base or extended version. Make sure the wire come through the hole cleanly from the back side.
- Install the two screws. DO NOT OVERTIGHTEN THE SCREWS.
Configuration
Lap receiver itself doesn't have any configuration parameters. During data import it is possible to change settings/sensitivity how laps and splits are recognized. Please see Connector documentation for more information.
Troubleshooting
N/A